This article shows how you can install WordPress via Toolkit. If you are completely new to Toolkit, my article about using Toolkit to manage WordPress websites is a good introduction.
Install options
When you first launch Toolkit you see two options: you can either install WordPress or add any existing WordPress instances to Toolkit. You also got an “Install” and “Scan” button in the top-left corner of the interface.
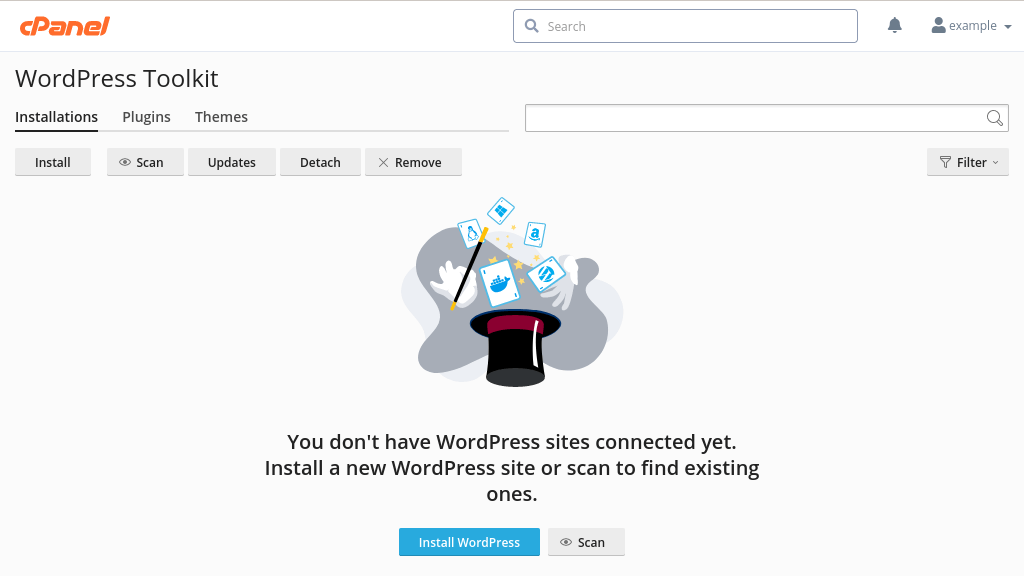
Image: opening Toolkit for the first time.
The Install WordPress page has quite a few configuration options. Most of them are sensible defaults, so I will just focus on the most important settings.

Image: the Install WordPress page, showing default settings.
Installation path
Up first is the installation path. It has three fields:
- You can select either http or https as the protocol for your website. If your domain has an SSL certificate then you want to pick https, and if it doesn’t then you want to get an SSL certificate. We offer a full range of SSLs, including free Let’s Encrypt certificates.
- The domain name is selected automatically. If you have more than one domain on your cPanel account then you can select which domain you want to install WordPress for. You need to be a little careful if you have multiple domains on your account – you don’t want to install WordPress on top of an existing website!
- The third field is the folder in which WordPress will be installed. You can typically leave this field blank. However, you should not install WordPress in a directory that already contains website files. You would end up with two different websites using the same document root, which is likely to break both websites.
Website title
As the name suggests, the website title is the name of your website. Most WordPress themes show the title prominently in the website’s header.
Toolkit picks a random name, so you probably want to change that. You don’t have to though – you can change the title at any time (either via Toolkit or via the WordPress dashboard).
WordPress administrator
The WordPress administrator section is used to create the admin user. Toolkit generates a random username, which is good. Among the more common type of attacks on WordPress websites are brute-force attacks. With those attacks a script repeatedly tries to log in to the WordPress dashboard, and more often than not the script tries the username admin with various commonly used passwords. By not using admin as the username your website is much more secure.
Another thing to be aware of is that Toolkit displays your WordPress password in clear text in the Toolkit interface. The password is encrypted on disk, but anyone with access to your cPanel account can see your password. You can make your website more secure by changing your WordPress password via the WordPress dashboard. The only downside of doing so is that you won’t be able to log in to the WordPress dashboard via Toolkit (though that is really a feature rather than a bug).
And finally, make sure to enter an email address you have access to. Toolkit sends the odd notification. For instance, you get an email when WordPress updates are available. The email address is only stored locally and not used to pester you with marketing spam.
Database settings
The database settings are randomly generated, which again is sensible. Toolkit also changes the default table prefix (wp_) to something random, which slightly improves the security of your website. If you want to further improve the security of your website then you can also change the database user’s permissions via cPanel’s Databases interface. By default, Toolkit gives the database user all privileges. You can limit that to ALTER, CREATE, DELETE, INDEX, SELECT, DROP, INSERT and UPDATE. If you want to make use of the clone feature then you also need the LOCK TABLES privilege.
Automatic update settings
As mentioned in the introduction to Toolkit, we recommend you enable automatic updates for WordPress and any plugins and themes used by your WordPress instance. You can change the settings at any time, either via Toolkit or the WordPress dashboard.
Post-install configuration
The installation itself should take only 20 seconds to one minute. If all goes well you get a success message and an invitation to install some plugins and themes.
Rather than adding more plugins straight away you might want to first update or remove existing plugins. By default, Toolkit installs the Akismet and Hello Dolly plugins. Akismet is a commercial anti-spam solution. Pre-installing the plugin is basically an advertisement, which unfortunately is common in WordPress. Once you have installed a few plugins and themes your dashboard will look like a collection of “upgrade now” and “rate us” notices.
The Hello Dolly plugin is not spam but has limited use. It displays random lyrics from Louis Armstrong’s Hello, Dolly in the dashboard, which is supposed to “symbolise the hope and enthusiasm of an entire generation”. You can safely remove the plugin.
You can manage (and remove) the plugins via the Plugins tab. The below image shows the default plugins for my example website. You can activate or deactivate plugins via the State toggle and choose whether or not available plugins should be applied automatically. And of course you can also delete unwanted plugins.
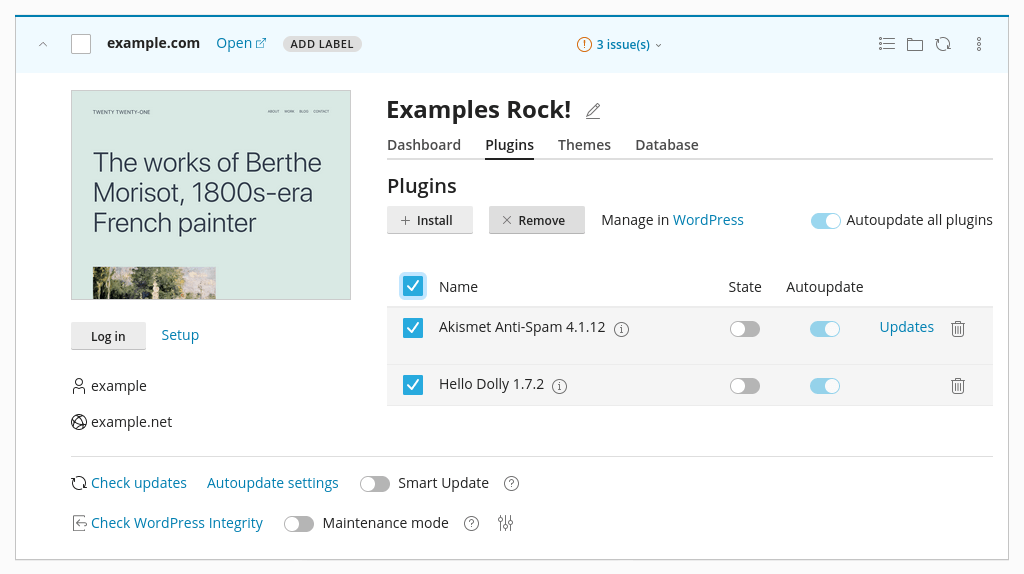
Image: managing WordPress plugins via the Plugins tab.
Similarly, you can use the Themes tab to manage existing themes and install new ones. Here, I am looking for one of my favourite themes, Chaplin, directly from within the Toolkit interface.

Image: installing the Chaplin theme.
Securing your website
You should also check if there are any issues reported on the Dashboard tab. For instance, if the dashboard shows that your domain uses an old PHP version then you can change the PHP version via cPanel’s MultiPHP Manager.

Image: the details for the example.com WordPress instance. The three security issues should be resolved.
And finally, another useful setting is Take over wp-cron.php. The WordPress cron is used to check for available updates and publishing scheduled posts. That is useful, but the default cron is a bit of a resource hog. It is a PHP script that is run on every page load, which isn’t ideal for busy websites. It is therefore recommended to replace the WordPress cron with a real cron job. Toggling the Take over wp-cron.php option does exactly that. By default, the real cron job runs every 30 minutes. You can tweak the cron job’s settings via cPanel’s cron jobs interface.