You can use cron jobs to run a command or script at regular intervals. For instance, you can run a script that makes a backup of your website every night or that deletes log files older than a year on the first day of every month.
To demonstrate how to add cron jobs I will replace the default WordPress WP-Cron functionality for example.com with a “proper” cron. If you have a WordPress website then this is something you might want to do, as it can improve the performance of your website.
The WordPress cron
WordPress runs a script named wp-cron.php on every page load. The script checks if there are updates for your WordPress install and does a number of other things. For instance, if you have scheduled a post to be published at a certain time then WP-Cron checks if the post should be published. It is a useful feature, but it is not ideal that the wp-cron.php file is run every time someone visits your website. If you have a fairly busy website then it may affect the performance of your site.
In short, WP-Cron is not a “real” cron job. Rather, it is a PHP script that is triggered when an event happens (that is, when someone opens a page on your website). “Proper” crons run at predefined intervals and are managed by a daemon service (crond). This is much more efficient and customisable.
Disabling WP-Cron
To replace WP-Cron with a real cron job you need to disable WP-Cron and add a cron job via cPanel. You can disable the WordPress cron by adding the following to your wp-config.php file (above the line that reads: “That’s all, stop editing!”):
define('DISABLE_WP_CRON', true);
Add a cron job via cPanel
You can now set up a cron job that runs the wp-cron.php file at set intervals. To do so, select Advanced » Cron Jobs in cPanel.
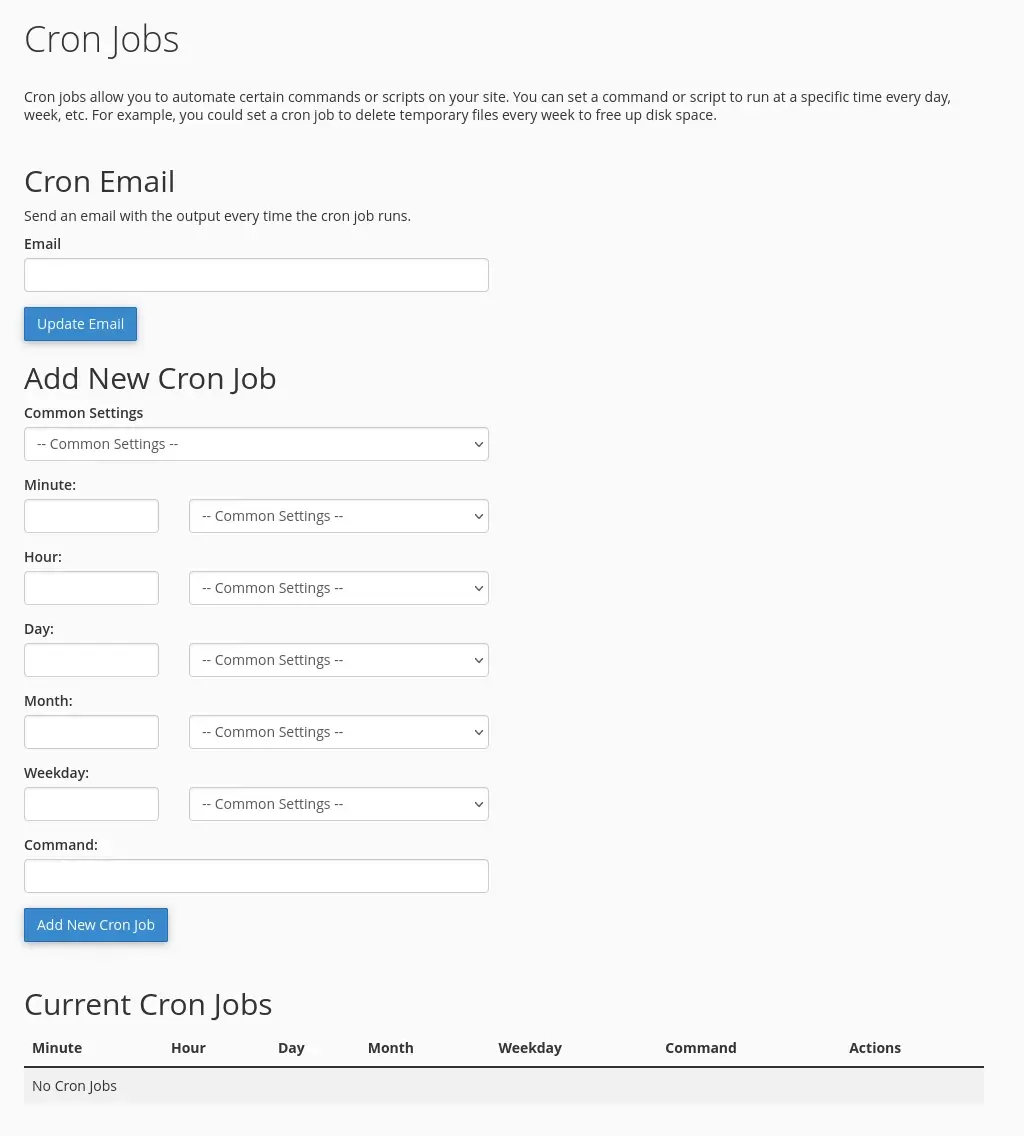
Any existing cron jobs are listed at the bottom of the page. You can at any time edit or remove cron jobs.
Adding cron jobs
There are three bits of information you need to enter when you add a new cron job:
- Whether or not you want to receive cron emails.
- The interval at which the cron job should run.
- The command that should be executed.
Cron emails
By default, an email is sent every time a cron job runs. If that is what you want, make sure that the email address shown on the Cron Jobs page is correct. If you don’t want to receive cron emails then you can redirect the cron job’s output to /dev/null. This is a special file that has a single purpose: to delete everything that is sent to it. I will show you an example shortly.
Cron intervals
Next, you need to define how often you want the cron job to run. Cron jobs use five fields that define the interval. Helpfully, you can select various common settings from the Common Settings drop-down menu. I want the cron job to run twice an hour, which is one of the pre-defined options.

cPanel makes it fairly easy to define a custom interval. As an alternative, you can also use crontab.guru to generate the syntax for your preferred interval.
Cron commands
Finally, you need to enter the command to be executed. In this case I want to run the wp-cron.php file. The easiest way to do so is by using the wget utility:
wget -q -O - https://example.com/wp-cron.php?doing_wp_cron >/dev/null 2>&1
The above command does two things:
- It downloads the wp-cron.php file, which effectively runs the WordPress cron.
- It sends any output the command produces to /dev/null.
Redirecting the output to /dev/null means that no cron email is sent. If you want to receive cron emails then you can leave out >/dev/null 2>&1. This is something you might want to do initially, when you have just created a cron job. Once you get cron emails that show that the job is running correctly you can add the redirect to stop the emails.
This looks useful, but very complicated
At this point you might think: “this looks very useful, but very complicated!”. Cron jobs are an advanced topic. You need to have a good understanding of the Linux command line to use crons. If you need help with a cron job, feel free to submit a support ticket.