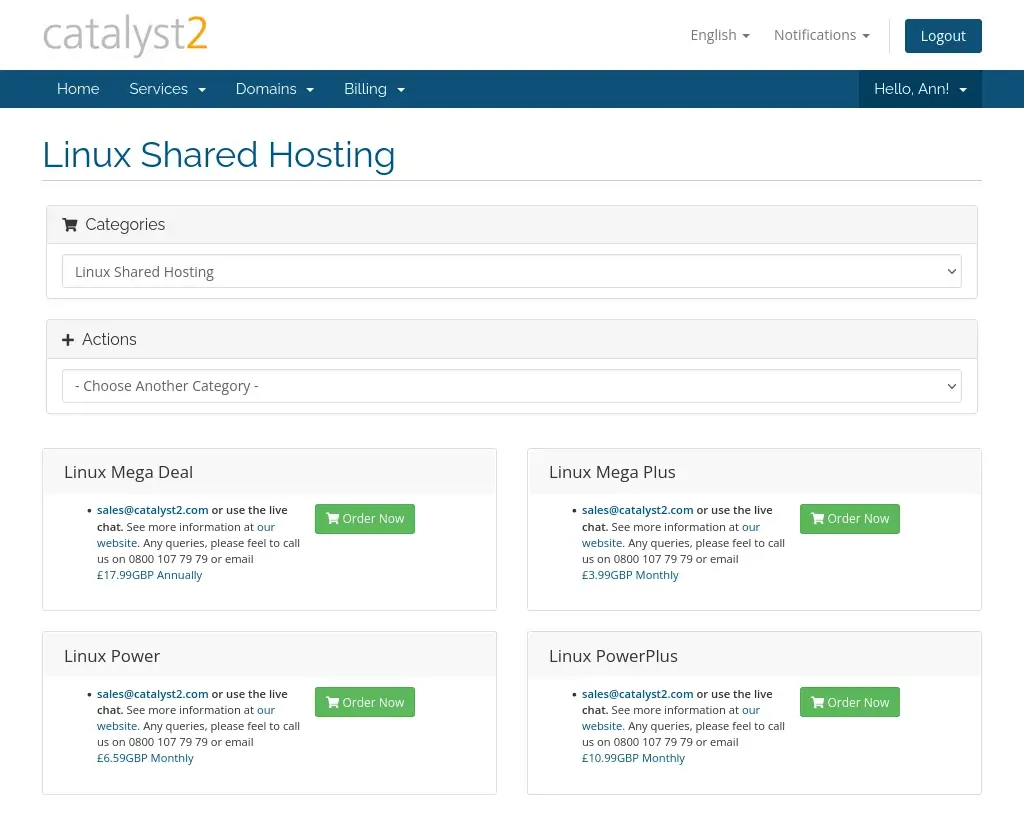
There are two different ways to buy a new hosting plan. The first is to find the hosting package you are interested in on our website. You can then click the Buy Now button and complete the order. If you don’t have an account with us yet then you can create an account during the checkout process.
Alternatively, you can by a new hosting plan via Services » Order New Services in your billing account. You can also go straight to billing.catalyst2.com/cart.php.
Choosing a domain
Every hosting plan needs to have domain name. So, the next step is to choose a domain for the hosting plan. The forms gives you three options:
- Register a new domain lets you buy a brand new domain name (i.e. a domain name that doesn’t exist yet).
- Transfer your domain from another registrar can be used to move an existing domain registration to us.
- I will use my existing domain and update my nameservers / DNS lets you pick a domain name without buying or transferring the domain.
We recommend the third option if you are not sure. You can always sort the domain registration after you have bought a hosting plan – you don’t have to buy or transfer a domain name at this stage.

It is also worth noting that it is perfectly fine to have a hosting plan with us and a domain name with a different company (or vice versa). They don’t have to be in the same place.
Another thing to note is that there are two fields for the domain: the first part is for the name itself and the second is for the domain extension. So, if you want to use the domain example.com, enter “example” in the first field and “com” in the second.
Configuring your hosting plan
Next, you can configure your hosting plan. The main option on this page is the billing cycle; for most hosting plans you can pay either monthly or annually (the only exception is the “Mega Deal”, which is always billed annually).

Checking out
And finally, you can complete the order on the Checkout page. If there is a debit or credit card on your account then you can use that card to pay the invoice. Other payment options include Paypal and funds on your account.
