cPanel’s Directory Privacy page lets you password-protect a website directory. When you visit a protected page you get a password prompt, and to get access you need to enter the correct user name and password.
Adding password protection is not difficult but the process is not very intuitive. So, let’s look at an example…
Selecting a directory
The Directory Privacy page lists all folders in your home directory. You can navigate to the directory you want to protect by clicking on the folder icons. Once you have found the directory you can select it by clicking on the name. For instance, in the below image I navigated to the public_html directory. To protect the private_files folder I next click on the folder name.
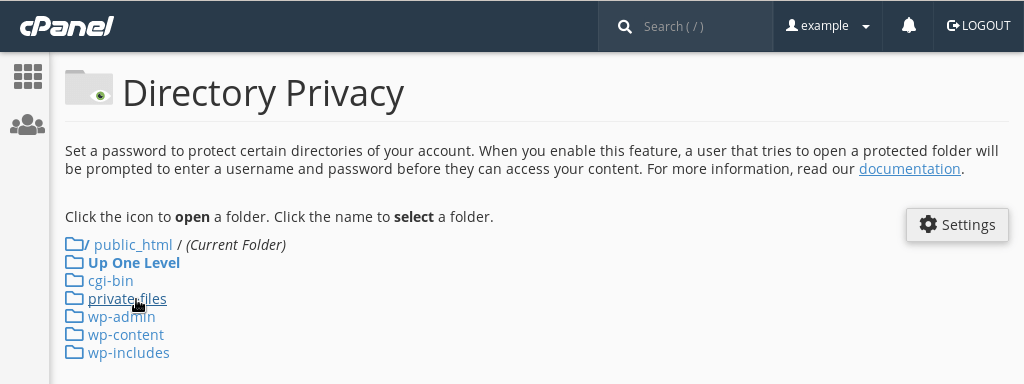
Image: selecting the ‘private-files’ folder.
Note: To password-protect your entire website you can simply select the public_html directory.
Adding password protection
Protecting a directory is a two-step process:
- You first need to tick the Password-protect this directory checkbox.
- Next, you need to enter a name for the protected directory. Most web browsers show this name when you try to access the directory (more about that in just a moment).
Creating a user
At this point we have password-protected the directory. However, we haven’t yet created a user name and password. As things stand nobody can access the folder.
The next step is therefore to choose a user name and password. In the below example I am creating the user Fruitcake:
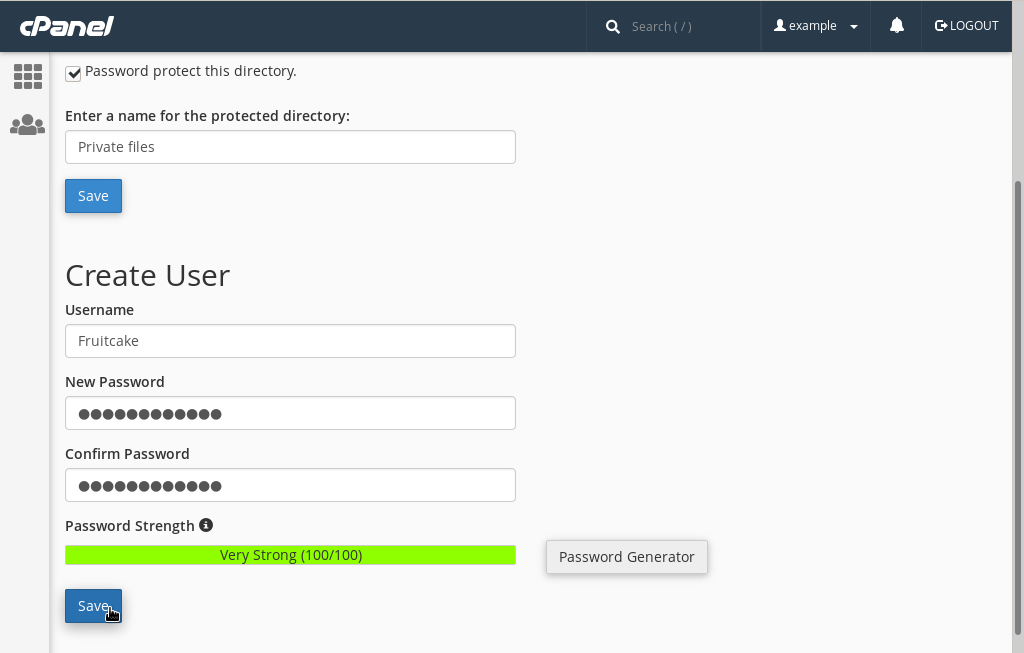
Image: creating a user that may access the directory.
And that’s it, anyone who now tries to access example.net/private-files is prompted for a user name and password. If they enter the wrong logins they will see an error 401 (“Access Denied”).

Image: The password prompt.
As you can see in the above image, the name we entered for the folder (“Private files”) is shown in the dialogue window. You can use the name to give the user a hint. For instance, instead of “Private files” you can use the name “your favourite lunch”. In that case web browsers show the message: ‘The site says: “your favourite lunch”‘.
Managing user accounts
You can create more than one authorised user. Users you add are listed at the bottom of the page, with the option to delete the user.
Removing password protection
Removing the password protection is again a two-step process:
- Navigate to the directory
- Untick the Password-protect this directory checkbox