An alias is a domain that shows the content of another domain. Aliases are often used when you own similar domains. For instance, if you own both example.co.uk and example.uk then you can make one of the domains an alias.
Understanding aliases in cPanel
cPanel used to have separate pages for aliases, addon domains and subdomains. Those pages no longer exist. Instead, you now need to manage any type of domain via the Domains page. That’s unfortunate, as the Domains interface is far from intuitive. If you are unfamiliar with the Domains page, please read the article about cPanel’s Domains feature first.
Adding an alias
To add an alias domain, click Create A New Domain button on the Domains page. You should then see this form:
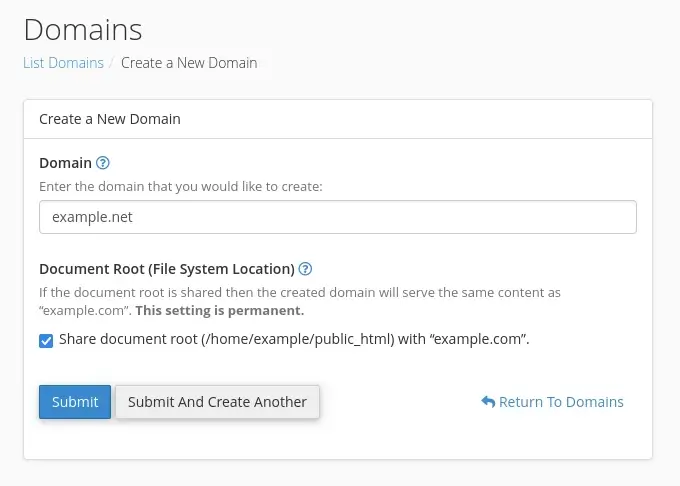
The Domain field is where you enter the domain, without the protocol and www subdomain. So, if you want to add example.net as an alias, simply enter example.net.
An alias always shares the document root with the main domain. You therefore want to leave the Share document root checkbox ticked. To create the alias you can simply click Submit.
Aliases and the Domains interface
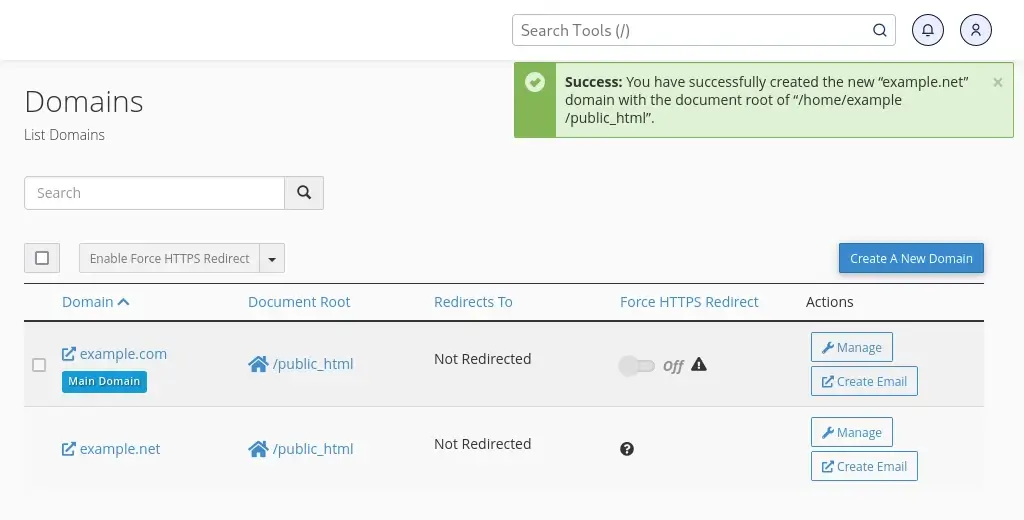
You should now see the alias listed on the Domains page. The page doesn’t actually tell you that example.net is an alias of example.com – you have to deduce this from the information on the page. In this case, example.net has the same document root as the main domain. Because the two domains share the public_html directory they show the same content. And, because example.com is the main domain, example.net can only be an alias. As said, don’t feel bad if that sounds confusion – the Domains interface is confusing.
Aliases and addon domains
You can only create an alias for the main domain on your account. If you want an alias for an addon domain or subdomain then we can create the alias for you. However, we don’t recommend adding an alias for an addon domain or subdomain, as you wouldn’t be able to manage the alias via your cPanel account.
If you want an alias for an addon domain then a better option is usually to move the addon domain to its own cPanel account. That way the domain would have its own account, and you could therefore add one or more aliases via cPanel.
Managing aliases
The Manage button on the Domains lets you manage the settings for the alias. Or at least, it would do if there was anything to manage:
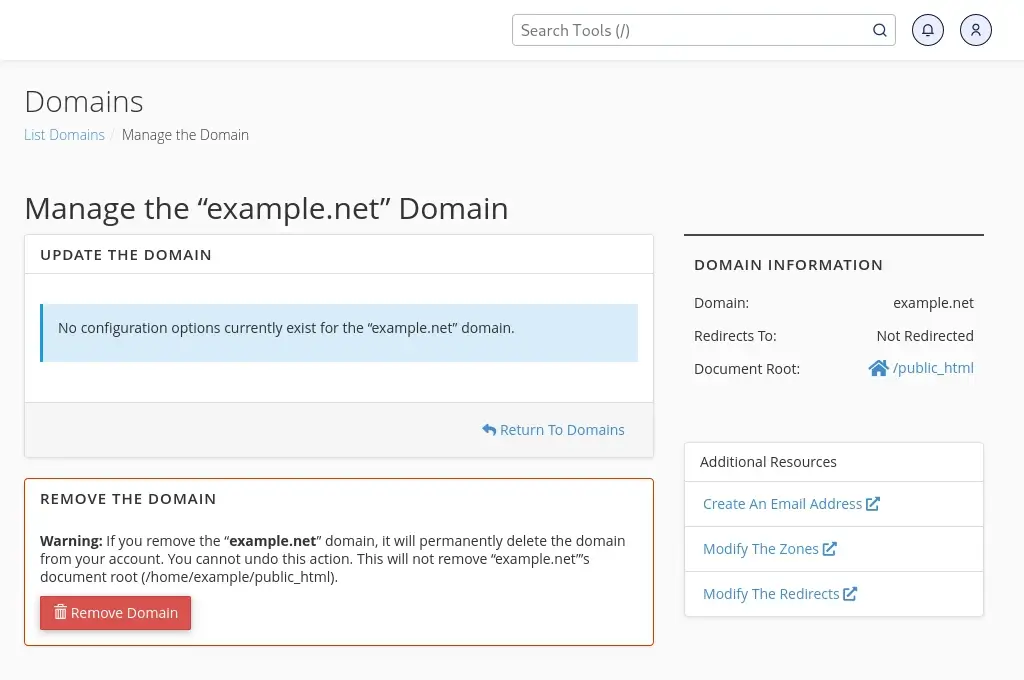
The only option is Remove Domain. If you want to remove the alias, simply click that button. Other than that there are a few links to other cPanel pages. Among others, there is a link to Modify The Redirects, which is what I will look at next.
Aliases and redirects
So far, I have created the alias example.net for the main domain on my account. Both example.com and example.net therefore show the same content. Here you see the alias example.net in action; my browser shows the example.com website when I visit example.net:
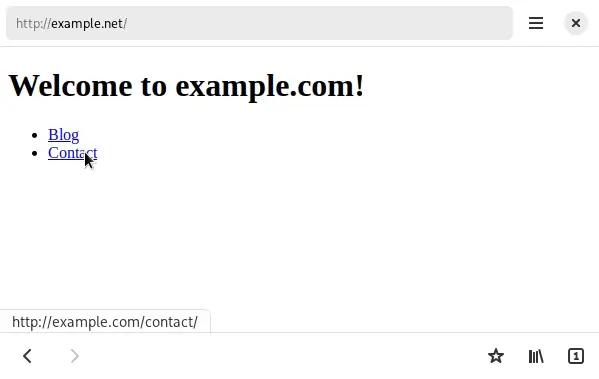
That’s great, but the way this works isn’t ideal. If you look carefully at the above image you see that my website’s title is “Welcome to example.com”, yet the address bar shows example.net. And, in the button right corner you can see that clicking on the “Contact” link will take me to example.com/contact/. So, the link actually goes to a different domain.
Plus, if you care about search engine rankings then having more than one domain showing the exact same content is not recommended. Although nobody really knows how the likes of Google rank websites you might get penalised for having more than one domain with exactly the same content.
If any of the above is a concern then it makes sense to add a redirect for the alias. That way, any traffic for example.net is automatically redirected to example.net.
Aliases, DNS, email addresses and Let’s Encrypt
There are a few other things to be aware of:
- An alias only works if the domain’s A record points to your server. If an alias you create doesn’t work then the issue might be that the DNS for the alias needs to be updated.
- On most of our servers, cPanel automatically tries to install a Let’s Encrypt SSL certificate when an alias is created. So, if the domain’s A record points to your server then it should get an SSL certificate as well.
- cPanel also automatically adds lots of DNS records for aliases. This includes a CNAME record for the www subdomain and MX records. If the domain’s name servers point to the server then you can manage the DNS for the alias via the Zone Editor.
- An alias is only for a website, and not for email. If you want you can create email addresses for your alias but they would be normal mailboxes (and not function as an alias). If you want an email alias then your best option is to create an email forwarder.
Temporary URL alias
Finally, there is another use of aliases: you can use an alias to view a website on a specific server, even if the DNS for the domain is pointing to another server.
Let’s say you are moving the website example.com from another company to us. The new hosting package is on our Strawberry server but the DNS still points to the old provider. If you want to be able to work on the new website without pointing the DNS to the new server then you can do so via an alias.
There are other ways to view a website on a specific server without changing the DNS. Often, using an alias is the easiest method. Please send us an email if you want a temporary URL / alias for your website.